
> Using the Features > Wearing the Headset
Wearing the Headset
-
1Identify the left and right headsets.
-
There is a semicircle raised bump on the L (left) side.
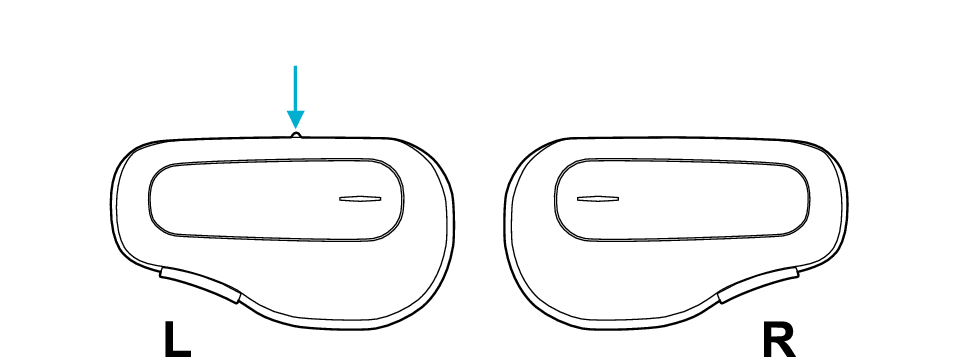
Left: Bump
-
2Choose a ear piece that best fit in your ear from the S, M and L sizes.
-
The medium-size silicone ear pieces are attached when purchased.
Attach the ear piece securely as shown in
 in the following figure.
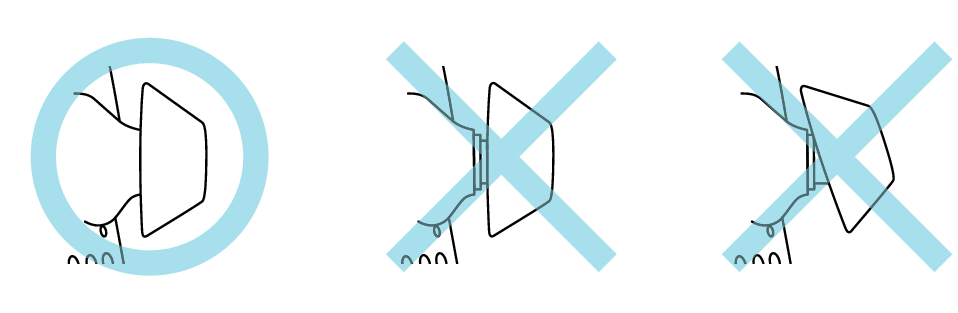
To enjoy better sound quality, use ear pieces that fit well in your ears.
Incorrect ear piece size can result in sound leakage and lack of bass.If the ear piece is not securely attached, it may slipped off when in use and remain in your ear. If the ear piece remains in your ear, be careful not to push it further into your ear.
-
3Choose a ear support size that tucks snugly into your ear.
-
The ear support comes in three sizes (S, M, L).

The small-size ear supports are attached when purchased.
L (left) side and R (right) side are indicated on the ear supports.
Attach them to the correct sides.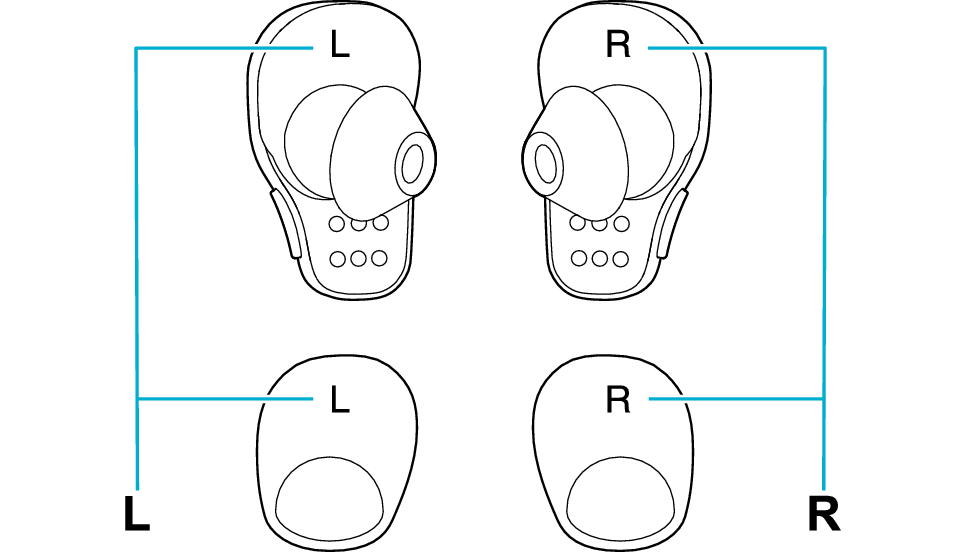
To attach the ear support, align the
 mark on the headset with the mark on the ear support.
Attach the ear support correctly as shown in
in the following figure. Make sure that there is no gap between the headset and the ear support and the headset does not stick out from the ear support.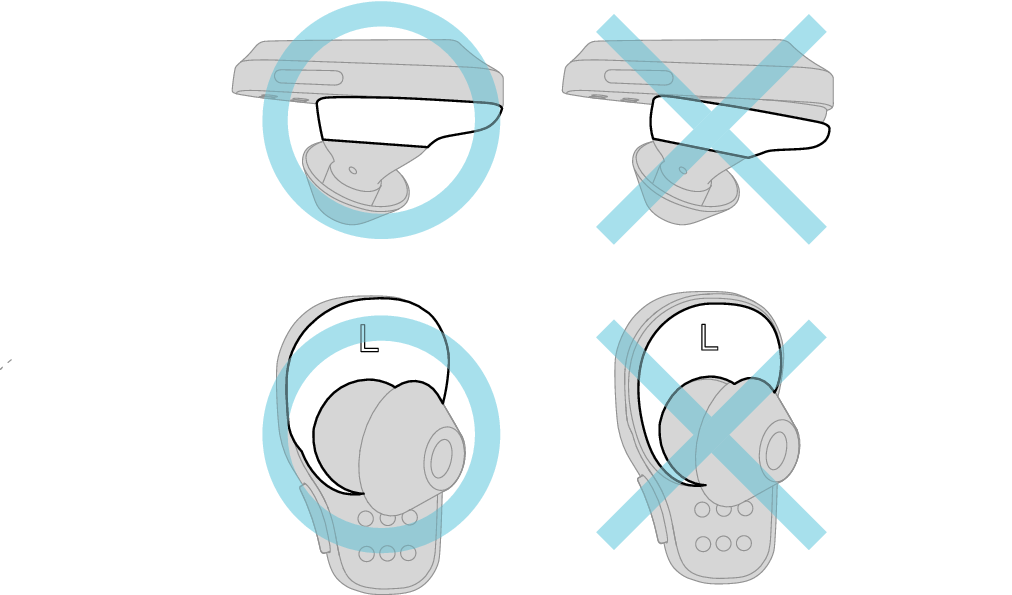
-
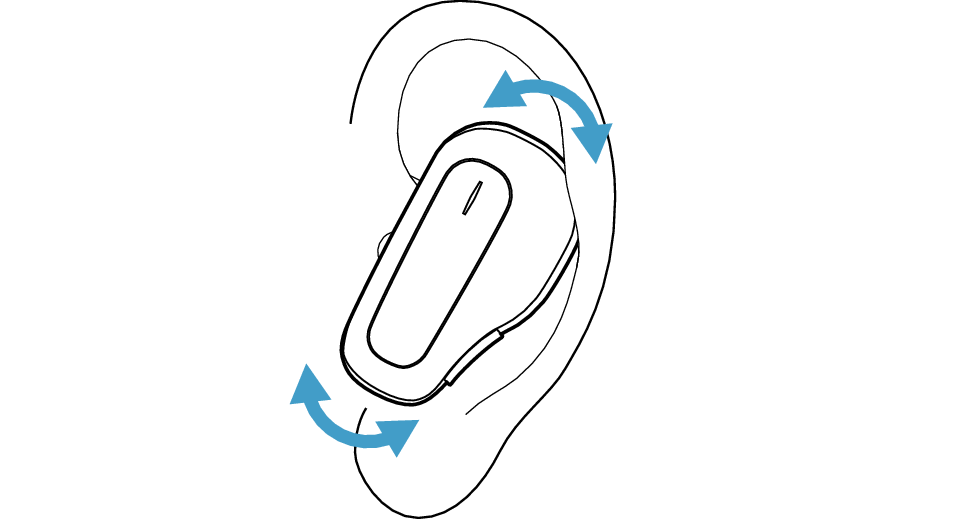
4Insert the ear support into your ear and fit it so that this System fits snugly into your ear when worn.
-
To prevent erroneous operation, button and touch pad will not respond for about 3 seconds after the headset is attached to the ears. Microphone is also turned off temporarily, and thus Noise Cancelling and Transparency are disabled.