No sound from one side of the earphones

If no sound is heard from one side of the earphones, following the steps below may solve the problem.
Follow the steps to check whether there is any abnormality with the sound output.
If the power of the earphones is on, turn it off temporarily
With the earphones worn on the ears, press and hold the L and R buttons for approximately 10 seconds . “Power Off” Is output from the audio guidance and the power turns off.
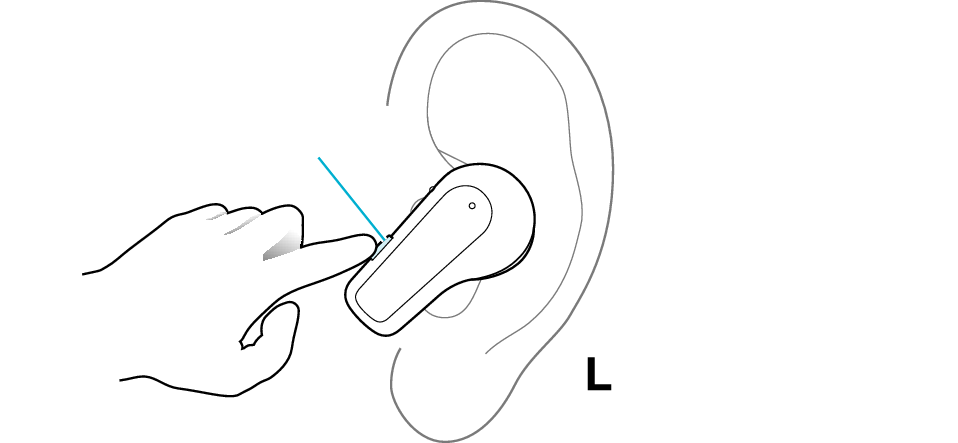
Button
The L earphone is used in the illustration.
Insert the earphones into the charging case. Check that charging has started, and then remove from the charging case.
Select the state after checking
Thank you for using Troubleshooting Guide.
Initializing the earphones and re-establishing the connection may help to solve the problem.
Follow the steps below to check whether there is any abnormality with the sound output.
Initializing
First of all, go to the Bluetooth settings of the device to be connected and delete the information of this unit that is registered on it.
Depending on the device to be connected, multiple registration information of the System may be displayed as shown below.
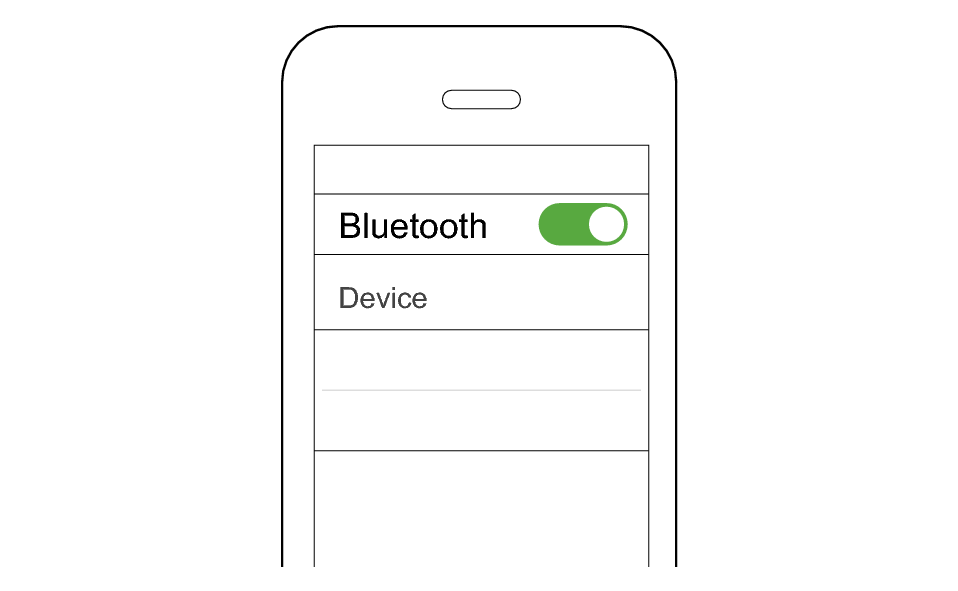
KENWOOD GLASS Core Pro
GLASS Core Pro-APP
In this case, delete all the registration information of the System.
Charge the charging case beforehand.
Remove the earphones once if they are inserted into the charging case.
Follow the steps below to initialize the settings of both the L and R earphones at the same time.
-
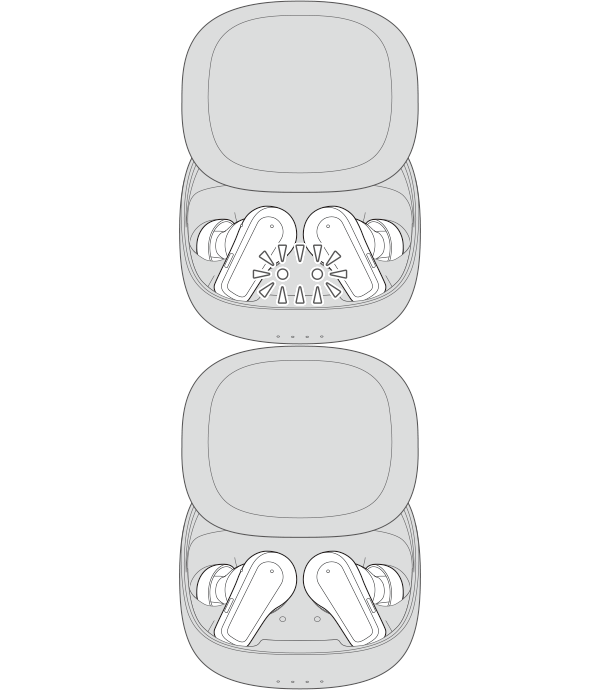
Insert the earphones into the charging case
-
When the indicators for the earphones are lit, press the L and R buttons at the same time six times in a row
-
While the indicators for the earphones are flashing, press and hold the L and R buttons at the same time for about one second
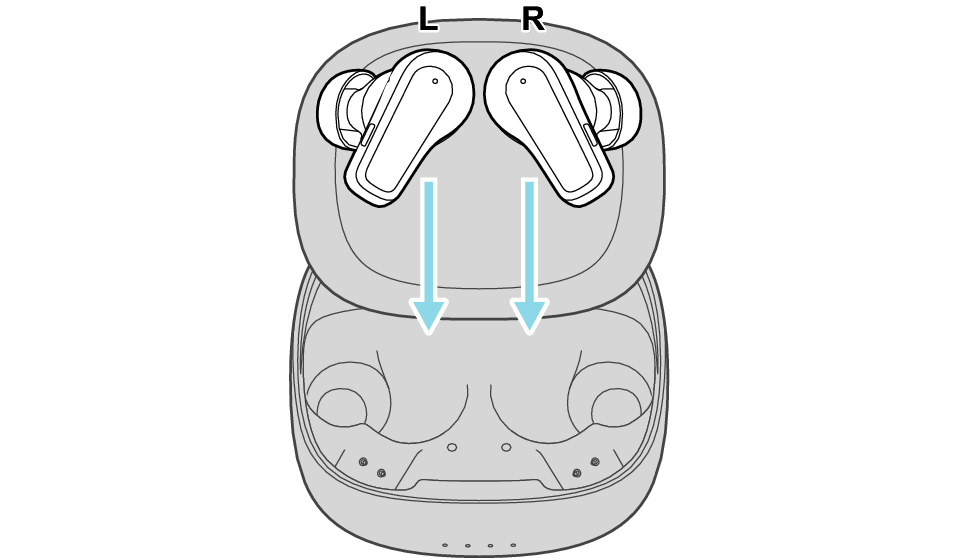
After a few seconds, the indicators for the earphones and charging case will light up.
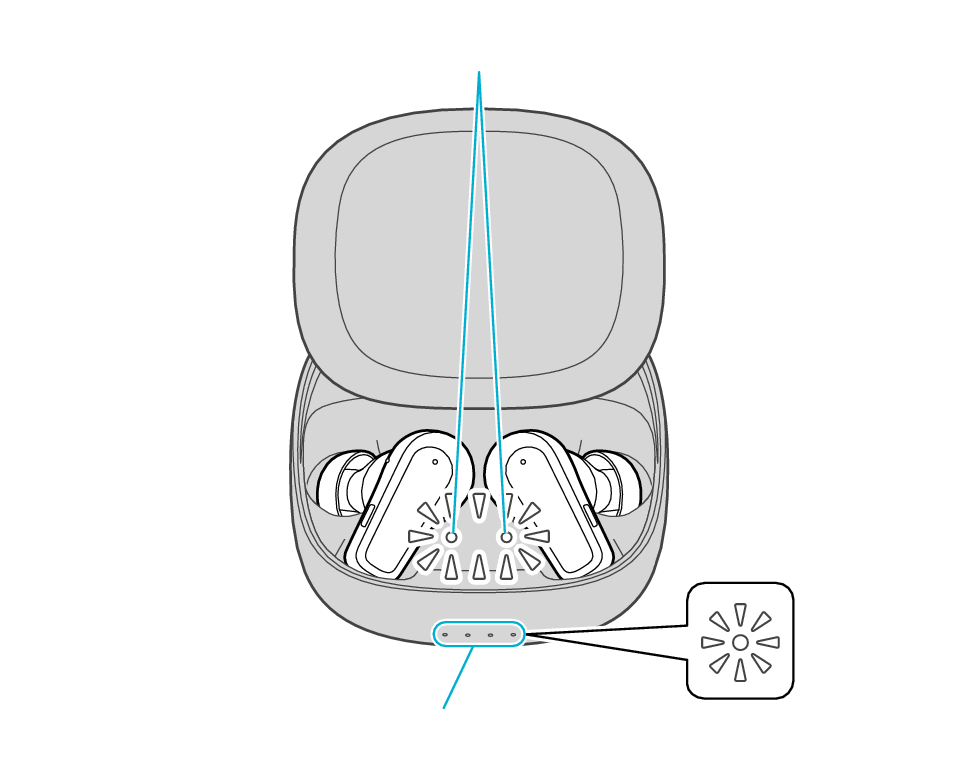
Indicators for the earphones
Indicators for the charging case
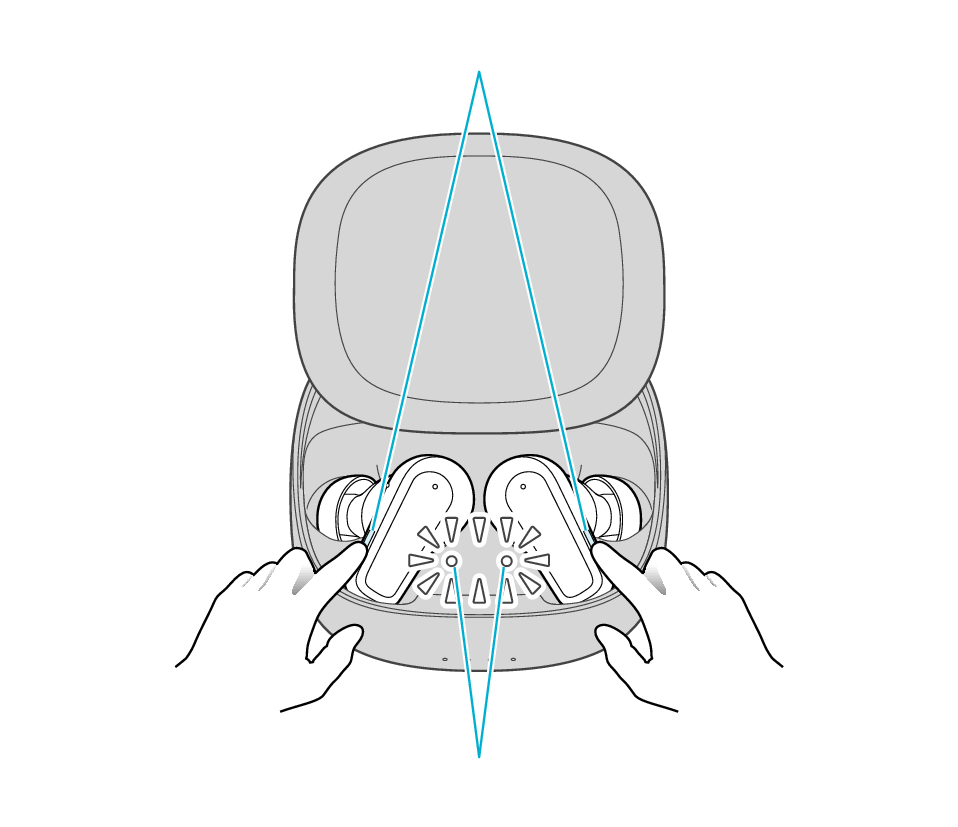
Button
Indicators for the earphones
The indicators for the earphones start to flash quickly.
If the indicators do not flash quickly, remove both earphones from the charging case, and start over again from step 1.
The indicators for the earphones will stop flashing in 10 seconds. While the indicators are flashing, press and hold the buttons for about 1 second.
Button
Indicators for the earphones
The L and R earphones are automatically connected inside the charging case.
After initialization is complete, the L and R indicators for the earphones will flash twice slowly.
After initialization is complete, charging of the earphones will resume, and the indicators for the earphones will turn on or go off.
Connecting to a Device
-
Insert the earphones into the charging case
-
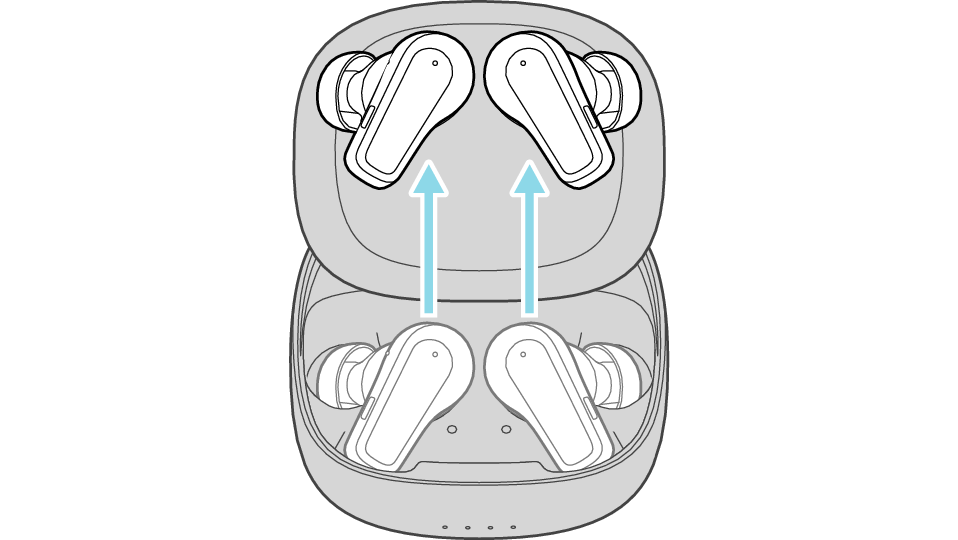
Remove both the L and R earphones
The indicators for the earphones light up.
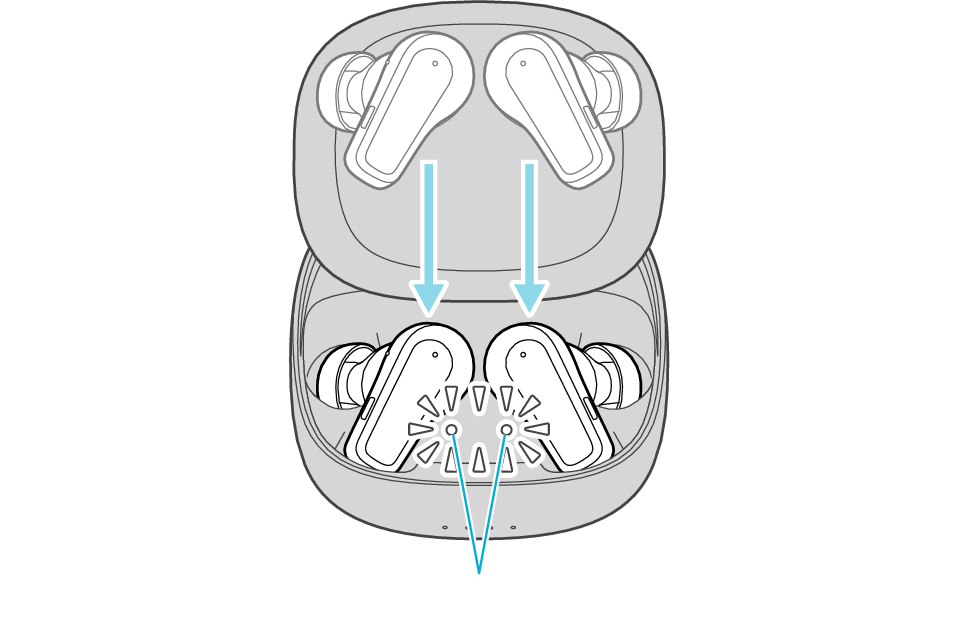
Indicators for the earphones
If a pop-up display appears on your Android device, perform connection by following the instructions on the display.
In other cases, try the steps below.
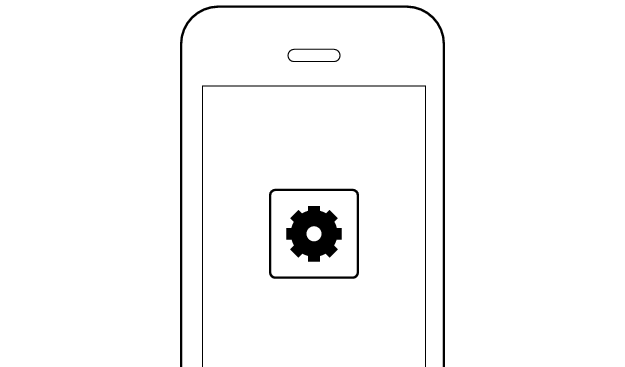
Turn on the BLUETOOTH connection setting of the device and select this unit
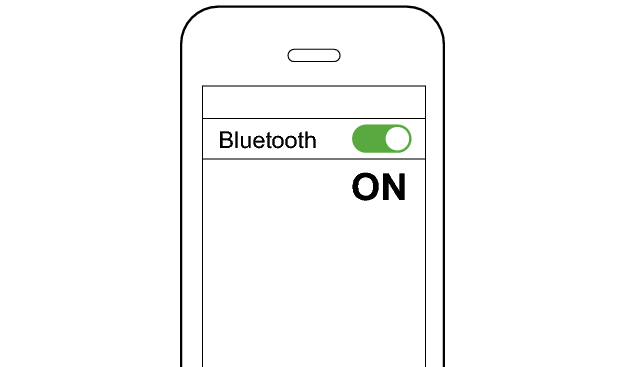
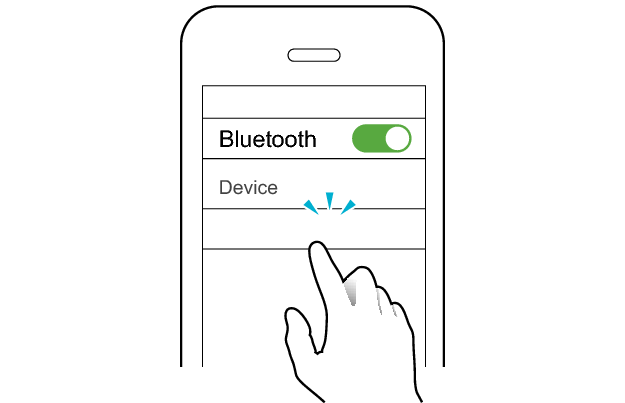
KENWOOD GLASS Core Pro
Check the screen on the Bluetooth device to confirm whether connection is successful.
When connection is established, you will hear an audio guidance notification “Device One Connected” through the earphones.
Once connection has been established, the earphones can be used for listening to music.
Apps and Volume Control on the Connected Device
-
Open an app and play
-
Adjust the volume